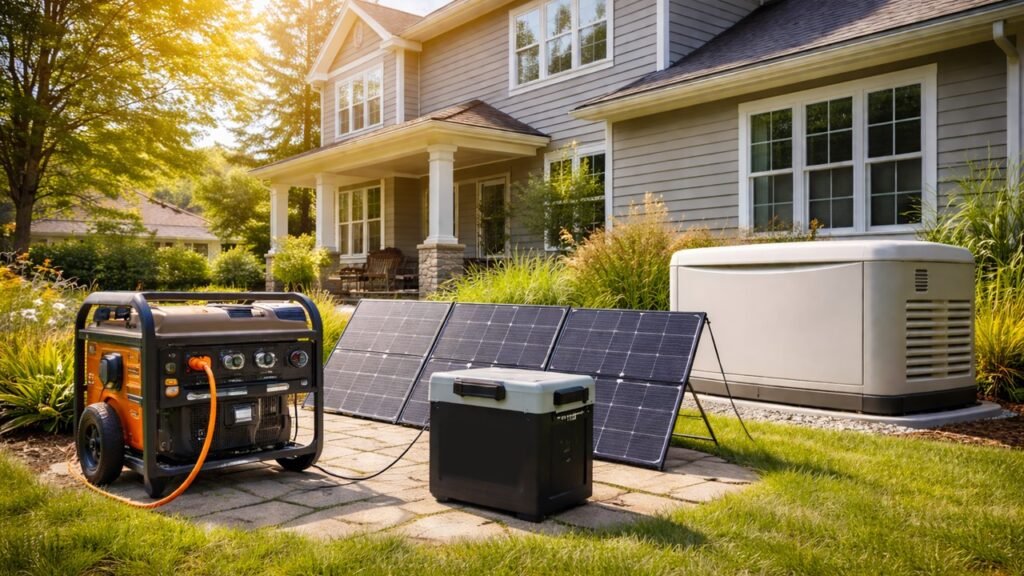
If you are wondering how to build a solar generator, the short answer is this: you combine solar panels, a battery, a charge controller, and an inverter into one working system that captures sunlight and turns it into usable electricity. That is it at the core.
A DIY solar generator can power small appliances, charge your devices, and give you backup power during outages. It is popular for camping, RV use, and emergency preparedness. In this guide, I will walk you through what it actually takes, what to buy, and how to size it properly so you do not end up with a system that looks good but cannot power what you need.
Key Summary:
- A solar generator combines solar panels, a battery, a charge controller, and an inverter to convert sunlight into usable household electricity.
- Battery capacity determines how long your solar generator can run devices, while inverter rating determines what appliances it can safely power.
- LiFePO4 batteries last significantly longer than lead-acid batteries, often delivering 3,000 plus charge cycles compared to 300 to 500 cycles for lead-acid models.
- Proper sizing requires calculating total daily watt-hours and accounting for surge power from appliances like refrigerators and power tools.
- Safe wiring, correct cable gauge, and fuse protection prevent overheating, equipment damage, and electrical hazards in DIY solar generator builds.
What Is a Solar Generator and How It Works
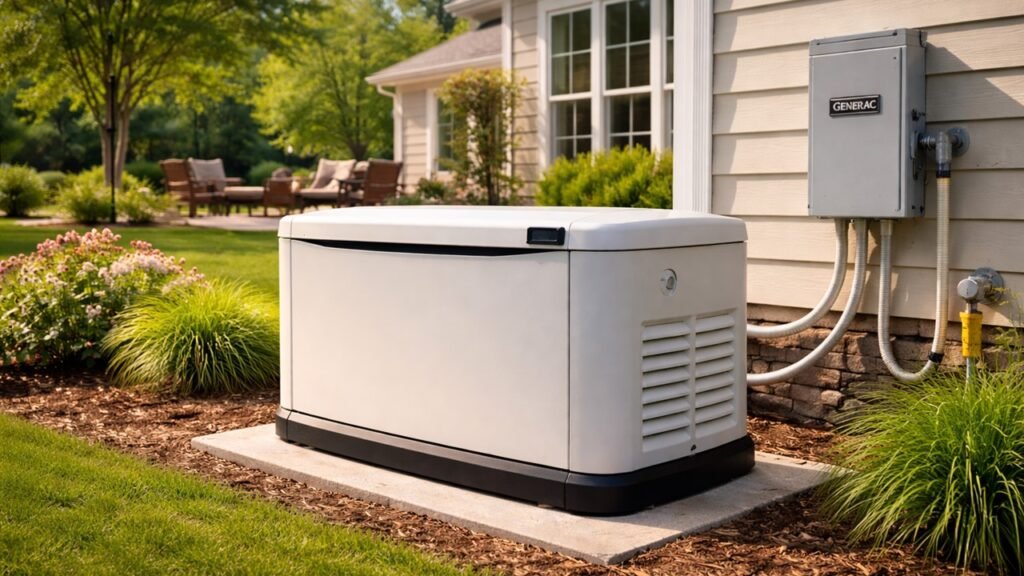
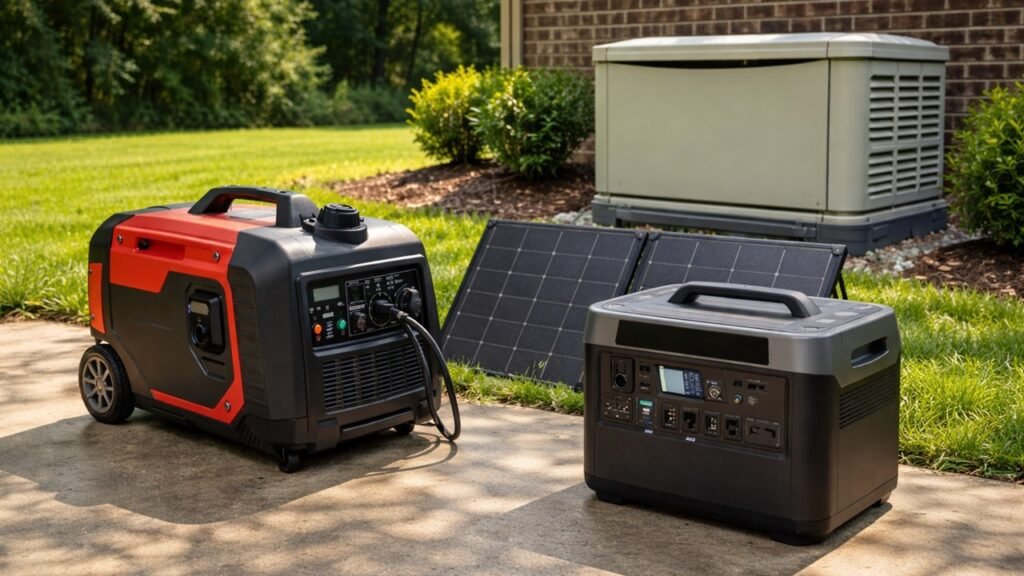
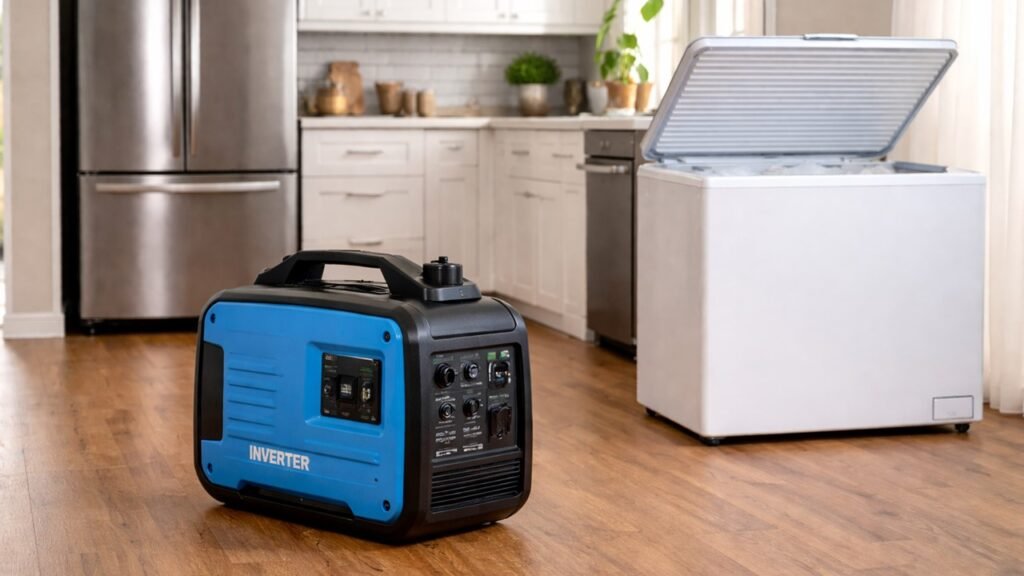
A solar generator is basically a compact power station that runs on sunlight instead of fuel. Instead of burning gasoline like a traditional generator, it stores electricity in a battery and delivers it when you need it.
Here is how it works in simple terms. Solar panels collect sunlight and turn it into DC electricity. That electricity flows into a charge controller, which regulates the power and protects the battery from overcharging. The battery stores the energy. Then the inverter converts that stored DC power into AC power, which is what most household devices use.
So when you plug in your laptop or small fridge, you are actually using stored solar energy that has been converted into standard wall-outlet power. No fuel, no fumes, and almost no noise.
Is Building a Solar Generator Worth It
Building your own solar generator can absolutely be worth it, but only if you understand what you are getting into.
It makes sense if:
- You want a custom system sized exactly for your needs.
- You enjoy hands-on projects and basic electrical work.
- You want to upgrade or expand parts later.
- You are building a small to medium backup system, not a whole-house solution.
It may not be the best option if:
- You want something ready to use out of the box.
- You are not comfortable working with wiring and batteries.
- You need high-capacity backup for large appliances.
- You prefer warranty-backed, factory-tested systems.
The biggest mistake people make is assuming a small DIY build can power an entire home. It usually cannot unless you invest heavily in batteries and solar capacity. For essentials like lights, internet, fans, and a fridge, though, a properly sized DIY setup can work very well.
Components Required to Build a Solar Generator
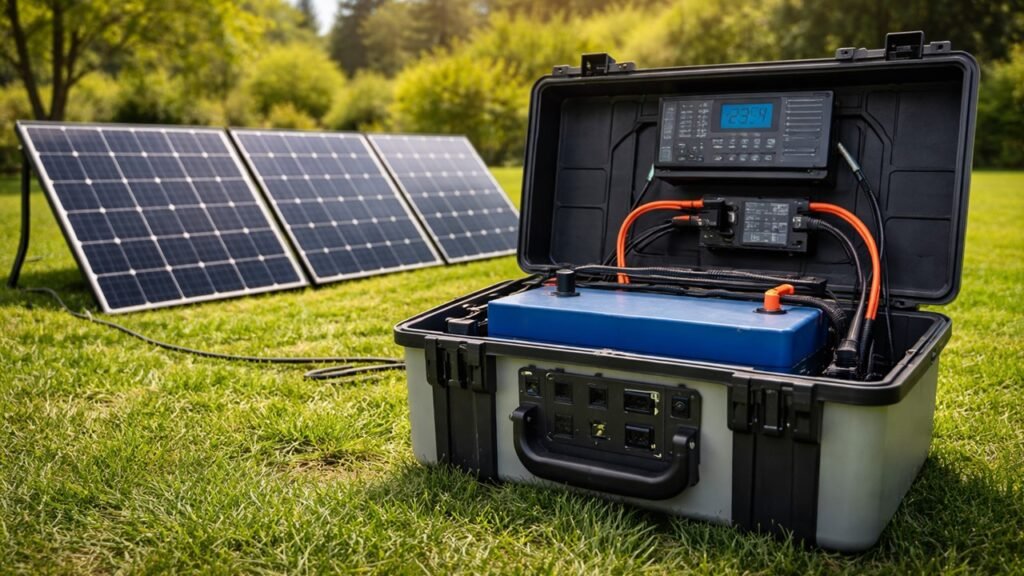
To build a solar generator, you need a few essential components. Each one has a specific role, and skipping quality here can cause problems later.
At minimum, you will need:
| Component | What It Does | Recommended Type |
| Solar Panel | Generates electricity from sunlight | Monocrystalline panel |
| Battery | Stores the energy | LiFePO4 battery |
| Charge Controller | Protects and regulates battery charging | MPPT controller |
| Inverter | Converts battery power to usable AC power | Pure sine wave inverter |
| Wiring and Fuses | Ensures safe power flow | Proper gauge copper wire with fuse |
| Enclosure | Holds everything securely | Ventilated, durable case |
If you are serious about long-term reliability, LiFePO4 batteries are usually the smarter choice. They last significantly longer than traditional lead-acid batteries and are generally safer under heavy use.
How to Size a Solar Generator Correctly
Sizing is the part that determines whether your system works smoothly or constantly disappoints you. Before buying anything, you need to know exactly how much power you plan to use.
Start by Listing What You Want to Power
Write down every device you plan to run. For each one, note:
- Running wattage
- How many hours per day you will use it
For example, if your laptop uses 100 watts and you use it for 5 hours, that equals 500 watt-hours per day.
Do this for every device. Then add them together.
H3: Calculate Your Total Daily Energy Use
Multiply watts by hours for each device. Then total everything.
Here is a simple example:
| Device | Watts | Hours Used | Daily Watt-hours |
| Laptop | 100W | 5h | 500Wh |
| Mini Fridge | 60W | 8h | 480Wh |
| LED Lights | 20W | 6h | 120Wh |
| Total | 1,100Wh |
In this case, you would need at least 1,100 watt-hours of usable battery capacity. In reality, you would want a bit more to avoid draining the battery completely.
Do Not Forget Surge Power
Some appliances need extra power when they first start up. Refrigerators, pumps, and power tools are common examples.
Your inverter must handle the startup surge, not just the running watts. If your fridge runs at 150 watts but needs 600 watts at startup, your inverter must support that higher surge rating.
- Battery capacity determines how long things run.
- Inverter rating determines what can turn on safely.
Get both right, and your system will feel solid and reliable instead of underpowered and frustrating.
Step-by-Step: How To Build a Solar Generator
To build a solar generator, you connect the battery, charge controller, solar panels, and inverter in the correct order, mount everything securely inside a ventilated enclosure, and test the system under sunlight before putting it into regular use. The key is proper wiring, correct sizing, and safe installation.
Now let’s break it down clearly.
Step 1. Mount the Battery and Inverter
Start by placing the battery inside your enclosure. Make sure it sits flat and cannot move around. If you are using a LiFePO4 battery, it is lighter than lead-acid, but it still needs to be secured properly.
Next, mount the inverter close to the battery. Keep cable distance short. Shorter cables reduce voltage drop and improve efficiency. Leave space for airflow, especially around the inverter, since it produces heat during operation.
Step 2. Connect the Charge Controller to the Battery First
This is important. Always connect the charge controller to the battery before connecting the solar panels.
Use the correct gauge wire and connect positive to positive and negative to negative. Install a fuse on the positive line near the battery for protection. Once connected, the charge controller should power on and detect the battery voltage automatically.
Connecting the battery first allows the controller to recognize system voltage correctly and prevents damage.
Step 3. Connect the Solar Panels to the Charge Controller
After the battery is connected, plug the solar panels into the charge controller’s solar input terminals.
Most modern panels use MC4 connectors. Make sure connections are tight and weather-safe. Once connected and placed in sunlight, the controller should show that charging has started.
At this stage, energy is flowing from the panels into the battery.
Step 4. Wire the Inverter Directly to the Battery
The inverter connects directly to the battery terminals, not to the charge controller.
Use thick cables rated for your inverter’s maximum wattage. Install an inline fuse or circuit breaker between the inverter and battery for safety.
Keep polarity correct. If wired properly, the inverter should power on and display normal battery voltage.
Step 5. Test the System Carefully
Before plugging in large appliances, test with a small load.
Place the panels in full sunlight. Confirm the battery is charging. Turn on the inverter and plug in a small device like a lamp or phone charger. If everything runs smoothly, your system is functioning correctly.
Once testing is complete, your DIY solar generator is ready for real use.
Solar Generator Safety Rules You Must Follow
Solar generators are safer than gas generators, but they still involve electricity and batteries. Poor wiring or undersized components can cause serious damage or fire.
Follow these safety rules carefully:
- Always connect the battery to the charge controller before connecting solar panels.
- Use proper gauge wiring based on your inverter’s amperage rating.
- Install fuses or breakers on all positive battery connections.
- Never exceed your inverter’s rated wattage.
- Keep the enclosure ventilated to prevent overheating.
- Avoid exposing electrical components to moisture.
- Do not mix different battery types in the same system.
- Disconnect power before performing maintenance.
Safe wiring is not optional. It is the difference between a reliable system and a dangerous one.
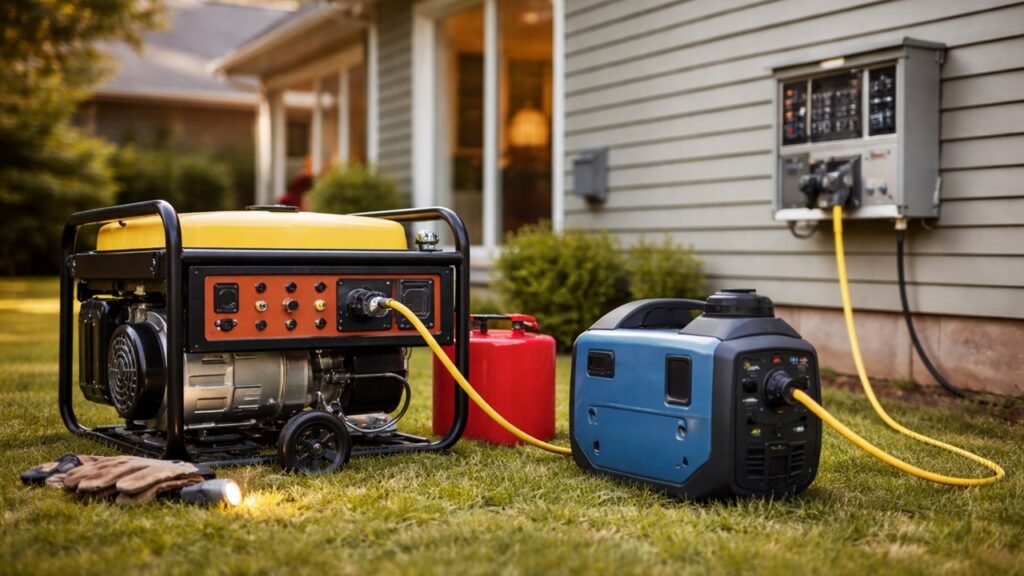
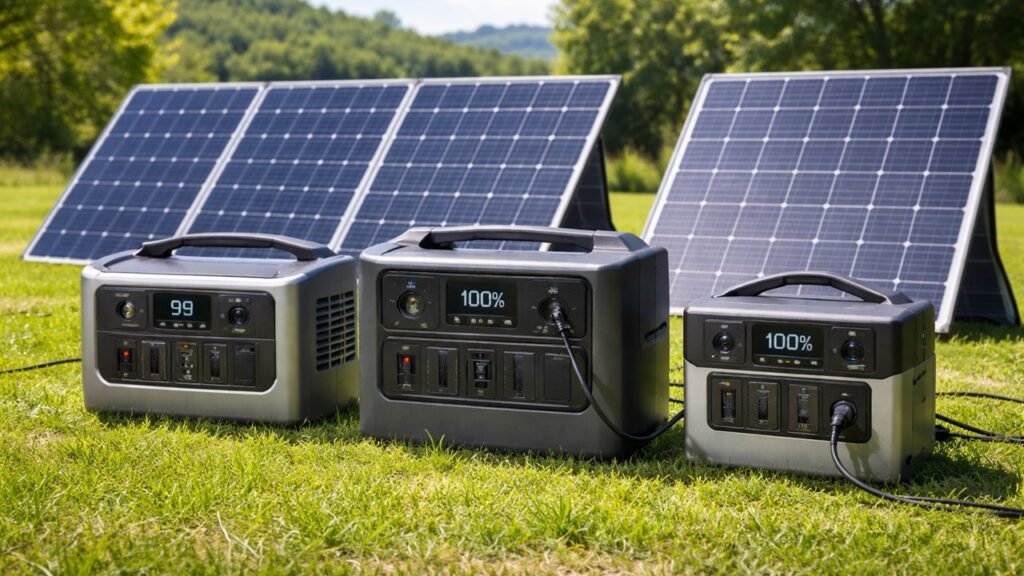
Where Are Solar Generators Used Mostly
Solar generators are most commonly used for portable power, backup during outages, and off-grid living where traditional electricity is unavailable or unreliable. Their quiet operation and fuel-free design make them ideal for situations where gas generators are impractical.
Here are the most common use cases.
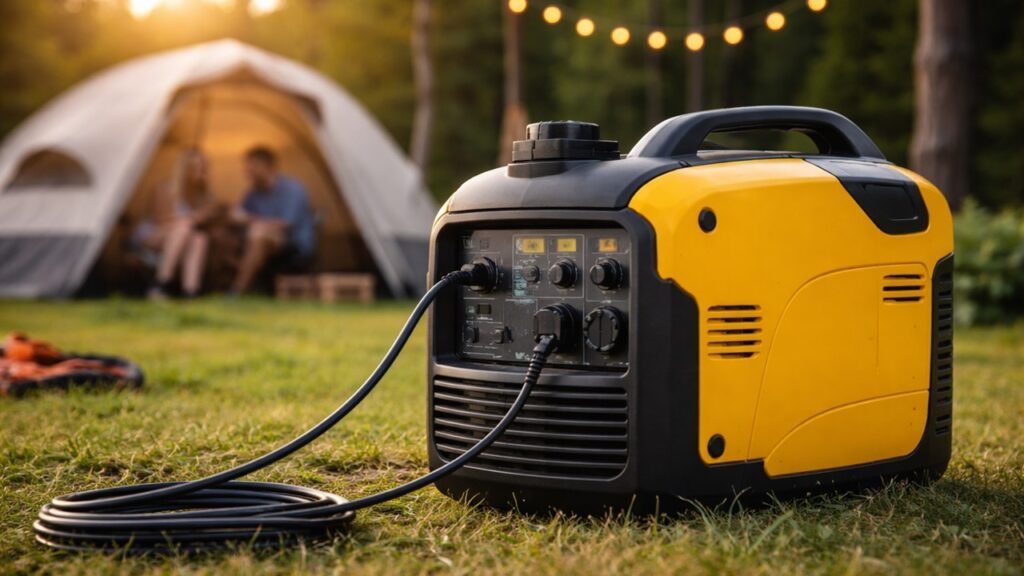
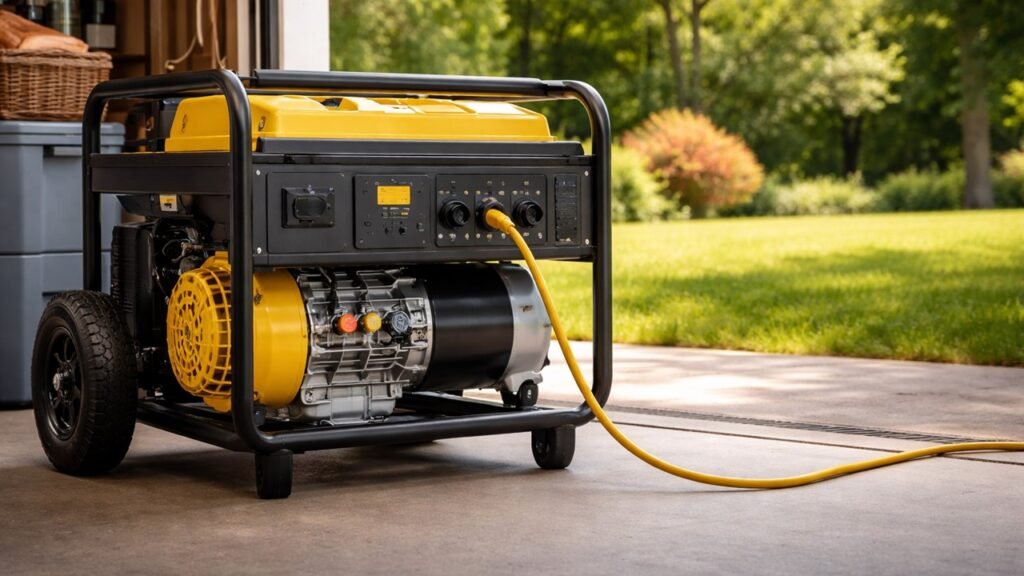
Camping and Outdoor Trips
Solar generators are extremely popular for camping. They power lights, phones, laptops, portable fridges, and small cooking appliances.
Since they produce no fumes and very little noise, they are campground-friendly and safe to use outdoors without disturbing others.
RV and Van Life
In RV and van setups, solar generators provide independence from hookups. They charge during the day and power essentials at night.
Common uses include running fans, lights, routers, TVs, and even small induction cooktops. Many RV users pair them with rooftop solar panels for continuous charging.
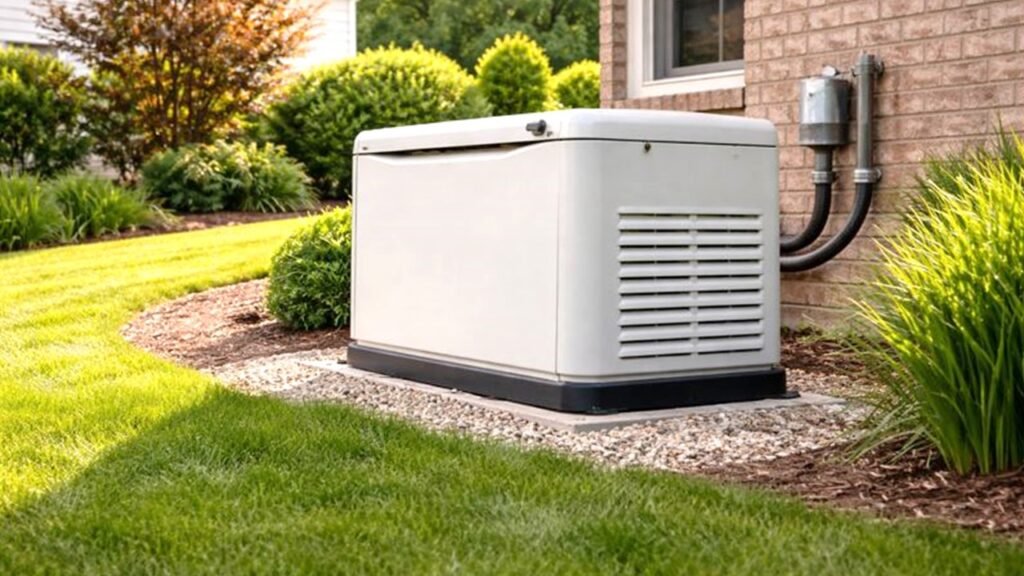
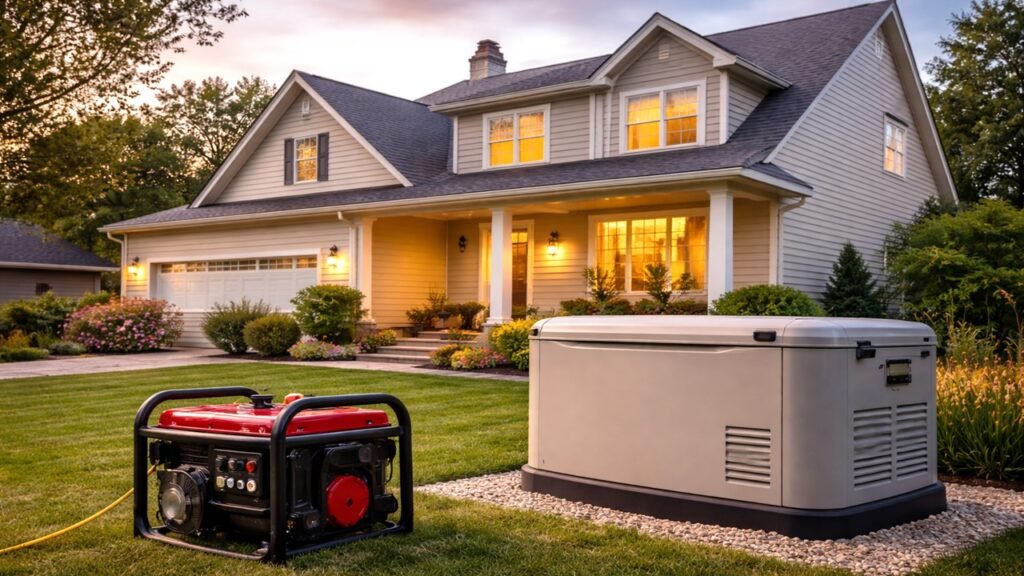
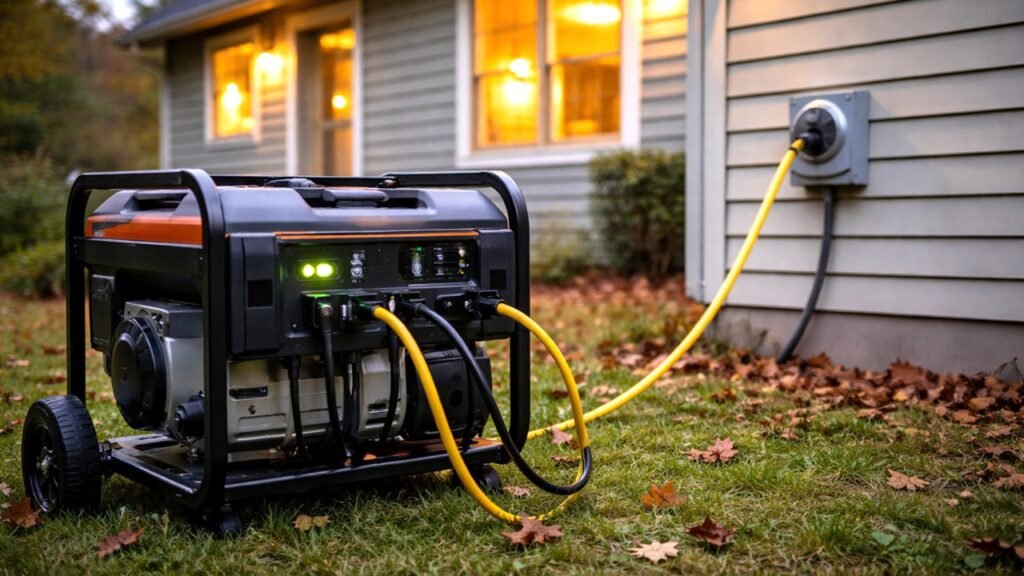
Emergency Home Backup
During power outages, a solar generator can keep critical devices running. This includes WiFi routers, medical devices, lighting, and refrigeration.
While small systems will not power an entire house, they are extremely useful for maintaining essentials during short-term blackouts.
Off-Grid Cabins and Remote Locations
In remote cabins or work sites without grid access, solar generators provide a clean, low-maintenance alternative to fuel generators.
They are especially useful where fuel delivery is difficult or expensive.
Related FAQs
How much does it cost to build a solar generator?
Most small DIY solar generators cost between 400 and 1,200 dollars depending on battery size and panel capacity. Lithium batteries increase upfront cost but last much longer than lead-acid options.
Can a DIY solar generator power a refrigerator?
Yes, but only if the inverter supports the refrigerator’s surge wattage. You must size both the battery capacity and inverter correctly to handle startup power.
How many solar panels do I need?
The number of panels depends on your daily energy use and available sunlight. A 400W panel setup is common for small backup systems under 1,500Wh.
Is LiFePO4 better than lead-acid for solar generators?
LiFePO4 batteries last longer, charge faster, and are safer under deep cycling. They cost more upfront but usually provide better long-term value.
Do I need an MPPT charge controller?
An MPPT controller is more efficient than PWM and can improve charging performance by 10 to 30 percent, especially in variable sunlight conditions.
Is building a solar generator difficult?
It requires basic electrical knowledge and careful wiring. If you follow correct sizing and safety steps, most beginners can build a small system successfully.

Robert Caldwell writes in-depth guides and reviews focused on generators, backup power systems, and portable energy equipment. His work is grounded in hands-on testing, covering fuel types, runtime performance, noise levels, and real-world reliability. He helps homeowners, RV owners, and outdoor users choose dependable power solutions with confidence. Every article emphasizes clear explanations, safe operation, and long-term value.